Loaded Pickguard Install

Install guides and advice for your ObsidianWire® Loaded Pickguard
  • Easy. Not Instant.

    For a secure connection, take your time, and follow directions carefully.

Loaded Pickguard Install Information

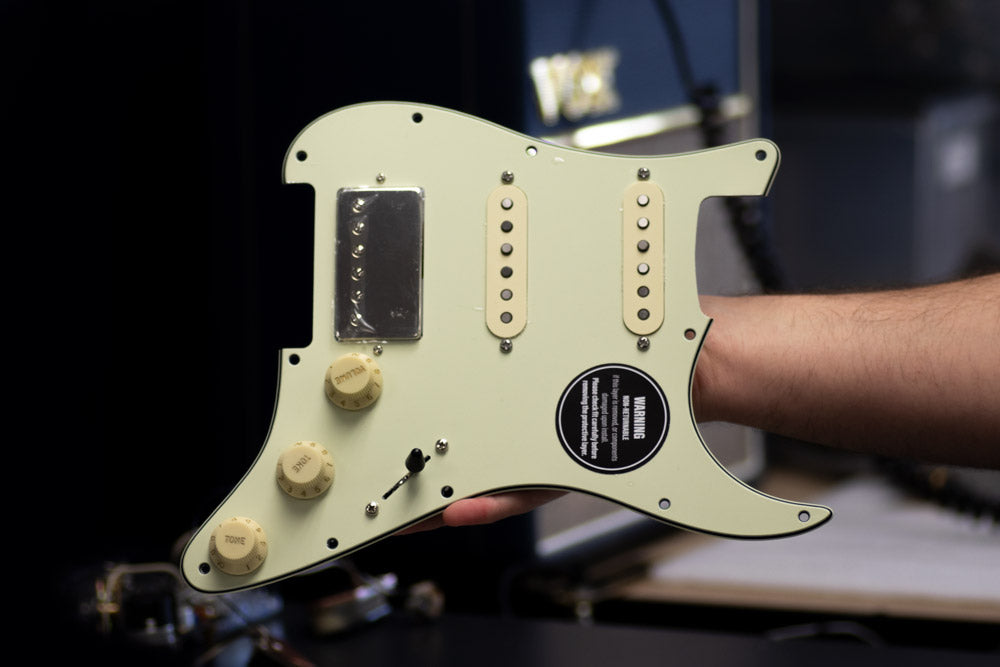
Got your brand new ObsidianWire® loaded pickguard to liven up your Strat®?

Alright! Let's get you set up and playing. Below you will find:

  • Wiring Diagrams
  • How to set your Pickup Height
  • Demo Videos
  • Links to More Help

Wiring Diagrams:

To install your output jack and any grounding required on your pre-loaded pickguard, you'll need to select the correct wiring diagram from the drop down section below.

Check carefully.

Important Notes:

  • Slot 1 - Always Closest to Jack
  • Spare ground wires go to screw down connector
  • Ground all metal parts including tremolo / bridge and cavity sheilding

  • Blender 250k // Custom 7 G2 // Vintage G2

    1 = Spare Ground
    2 = Spare Ground
    3 = Output Jack Black
    4 = Output Jack White
    5 = Neck Ground
    6 = Neck Hot
    7 = Middle Ground
    8 = Middle Hot
    9 = Bridge Ground
    10 = Bridge Hot

    All other ground wires to screw down ground connector

  • Blender G2 // Universal Blender

    1 = Output Jack Black
    2 = Output Jack White
    3 = Neck Ground
    4 = Neck Hot
    5 = Neck Series 1
    6 = Neck Series 2
    7 = Middle Ground
    8 = Middle Hot
    9 = Middle Series 1
    10 = Middle Series 2
    11 = Bridge Ground
    12 = Bridge Hot
    13 = Bridge Series 1
    14 = Bridge Series 2

    All other ground wires - to screw down ground connector

    For two wires pickups - leave SERIES slots empty

  • CUSTOM HSS / HSH GEN2

    1 = Output Jack Black
    2 = Output Jack White
    3 = Neck Pickup Ground
    4 = Neck Pickup Hot
    5 = Neck Pickup Series 1
    6 = Neck Pickup Series 2
    7 = Middle Pickup Ground
    8 = Middle Pickup Hot
    9 = Bridge Pickup Ground
    10 = Bridge Pickup Hot
    11 = Bridge Pickup Series 1
    12 = Bridge Pickup Series 2

    All other ground wires to screw down ground connector

    Two Wire Bridge & Neck Pickups - Leave 'Series' slots empty

  • Lambertones HSS

    1 = Output Jack Black
    2 = Output Jack White
    3 = Neck Ground
    4 = Neck Hot
    5 = Middle Ground
    6 = Middle Hot
    7 = Bridge Ground
    8 = Bridge Hot
    9 = Bridge Series 1
    10 = Bridge Series 2

    All other ground wires to screw down ground connector

    Info Sheet
  • CUSTOM HH

    1 = Output Jack Black
    2 = Output Jack White
    3 = Neck Ground
    4 = Neck Hot
    5 = Neck Series 1
    6 = Neck Series 2
    7 = Bridge Ground
    8 = Bridge Hot
    9 = Bridge Series 1
    10 = Bridge Series 2

    All other ground wires to screw down ground connector

Install Instructions:

  •  

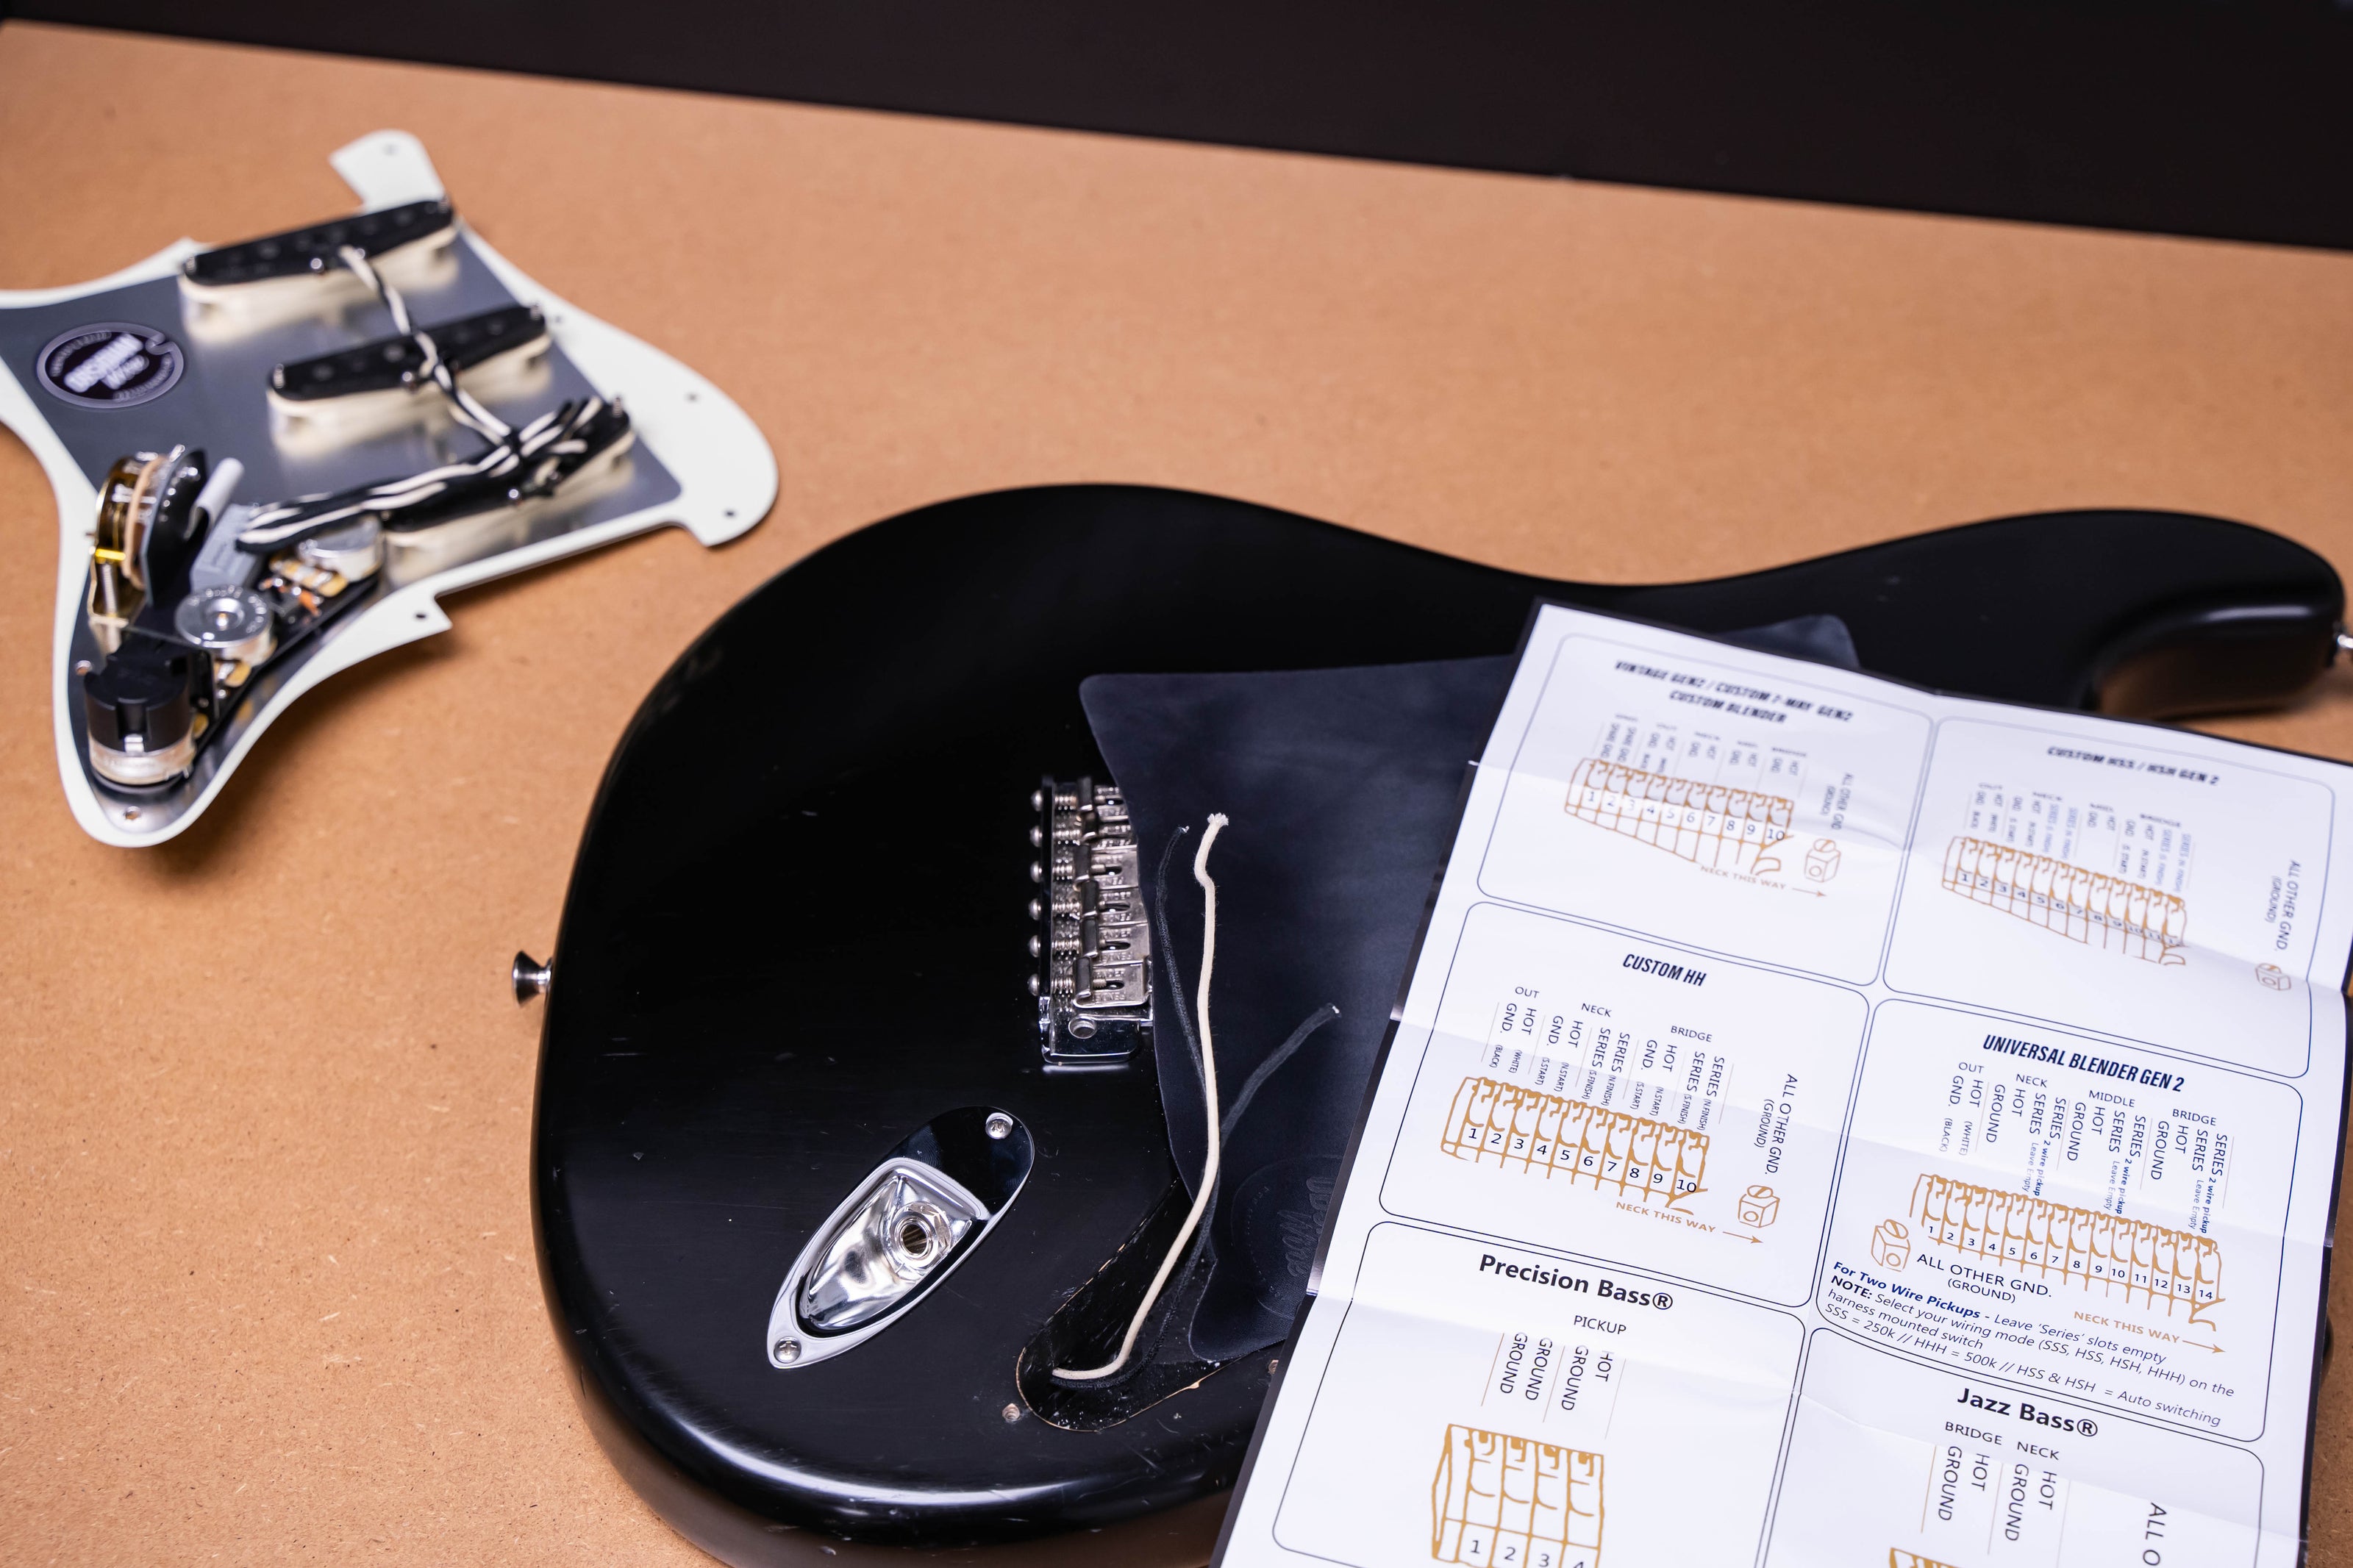
    1) Find Your Diagram

    • Find the correct diagram for your Strat® & Harness above.
    • Ensure the diagram is the correct one for the harness you are installing.
    Download Manual
  •  

    2) Unscrew your old pickguard and lift it from your guitar

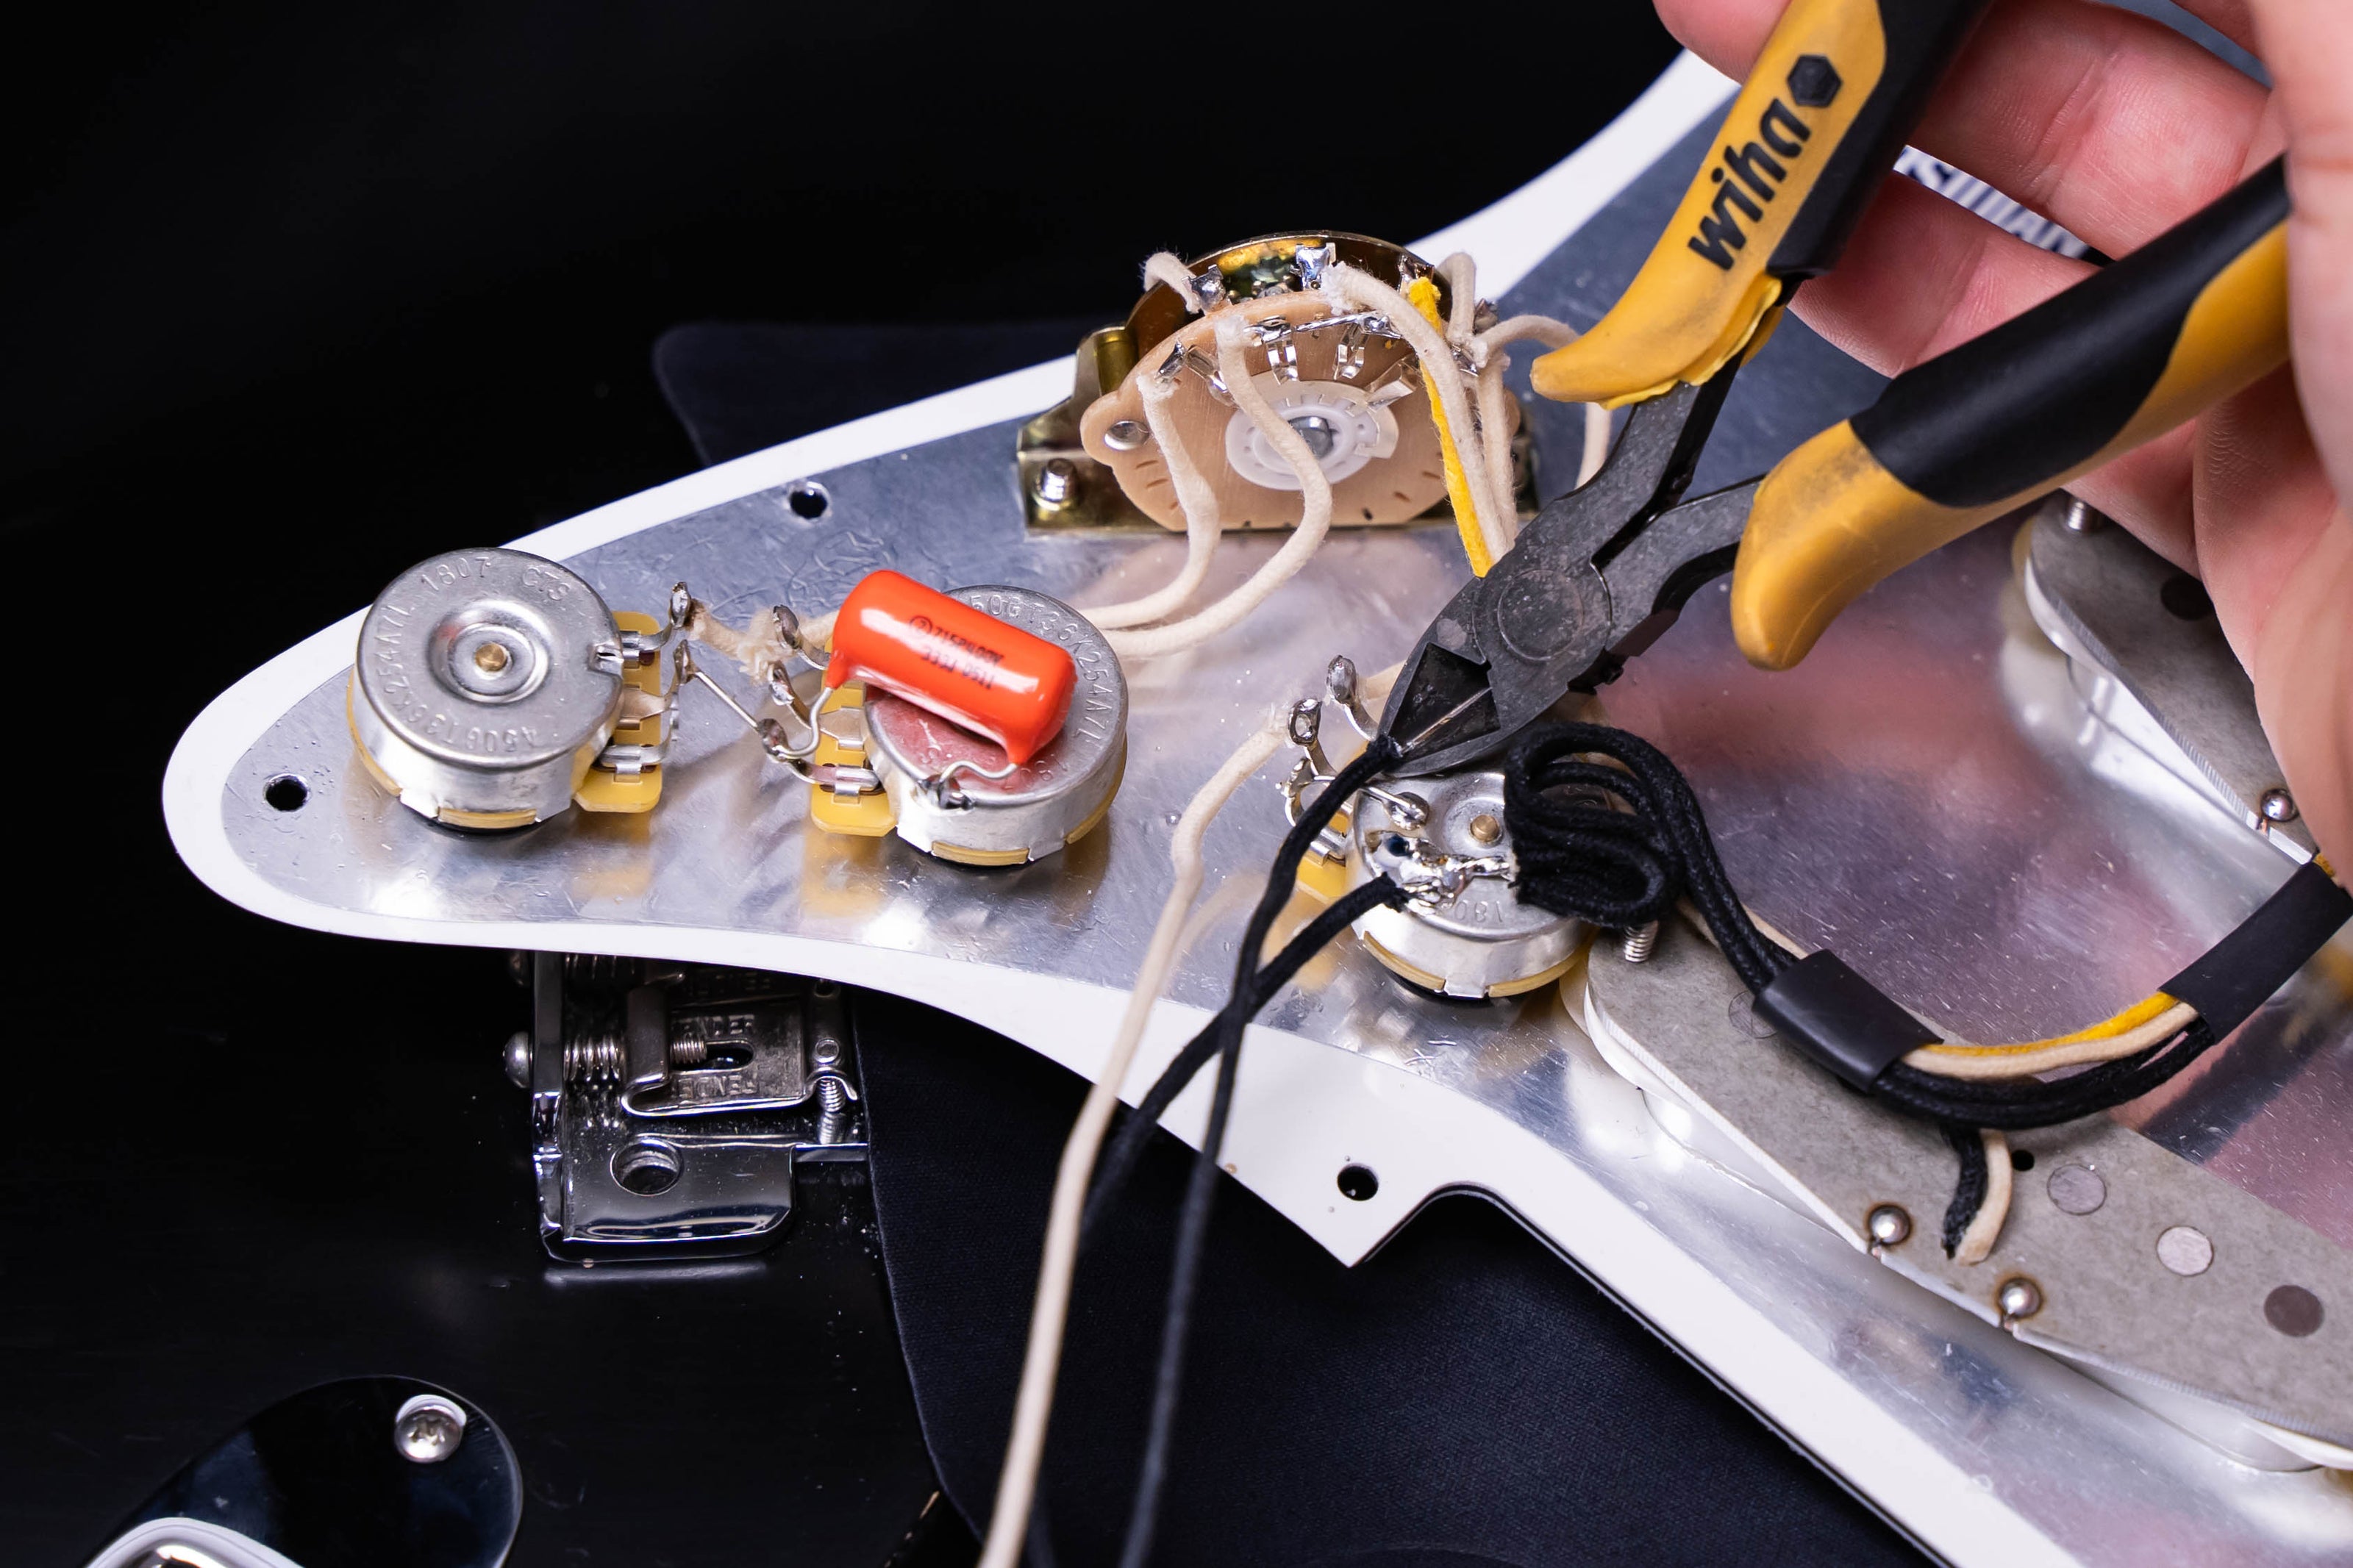
  • 3) Cut Out Your Old Pickguard

    • Cut your output & ground wires from your old wiring.
    • Cut as close to the harness as possible and DO NOT remove ground wires at guitar end.
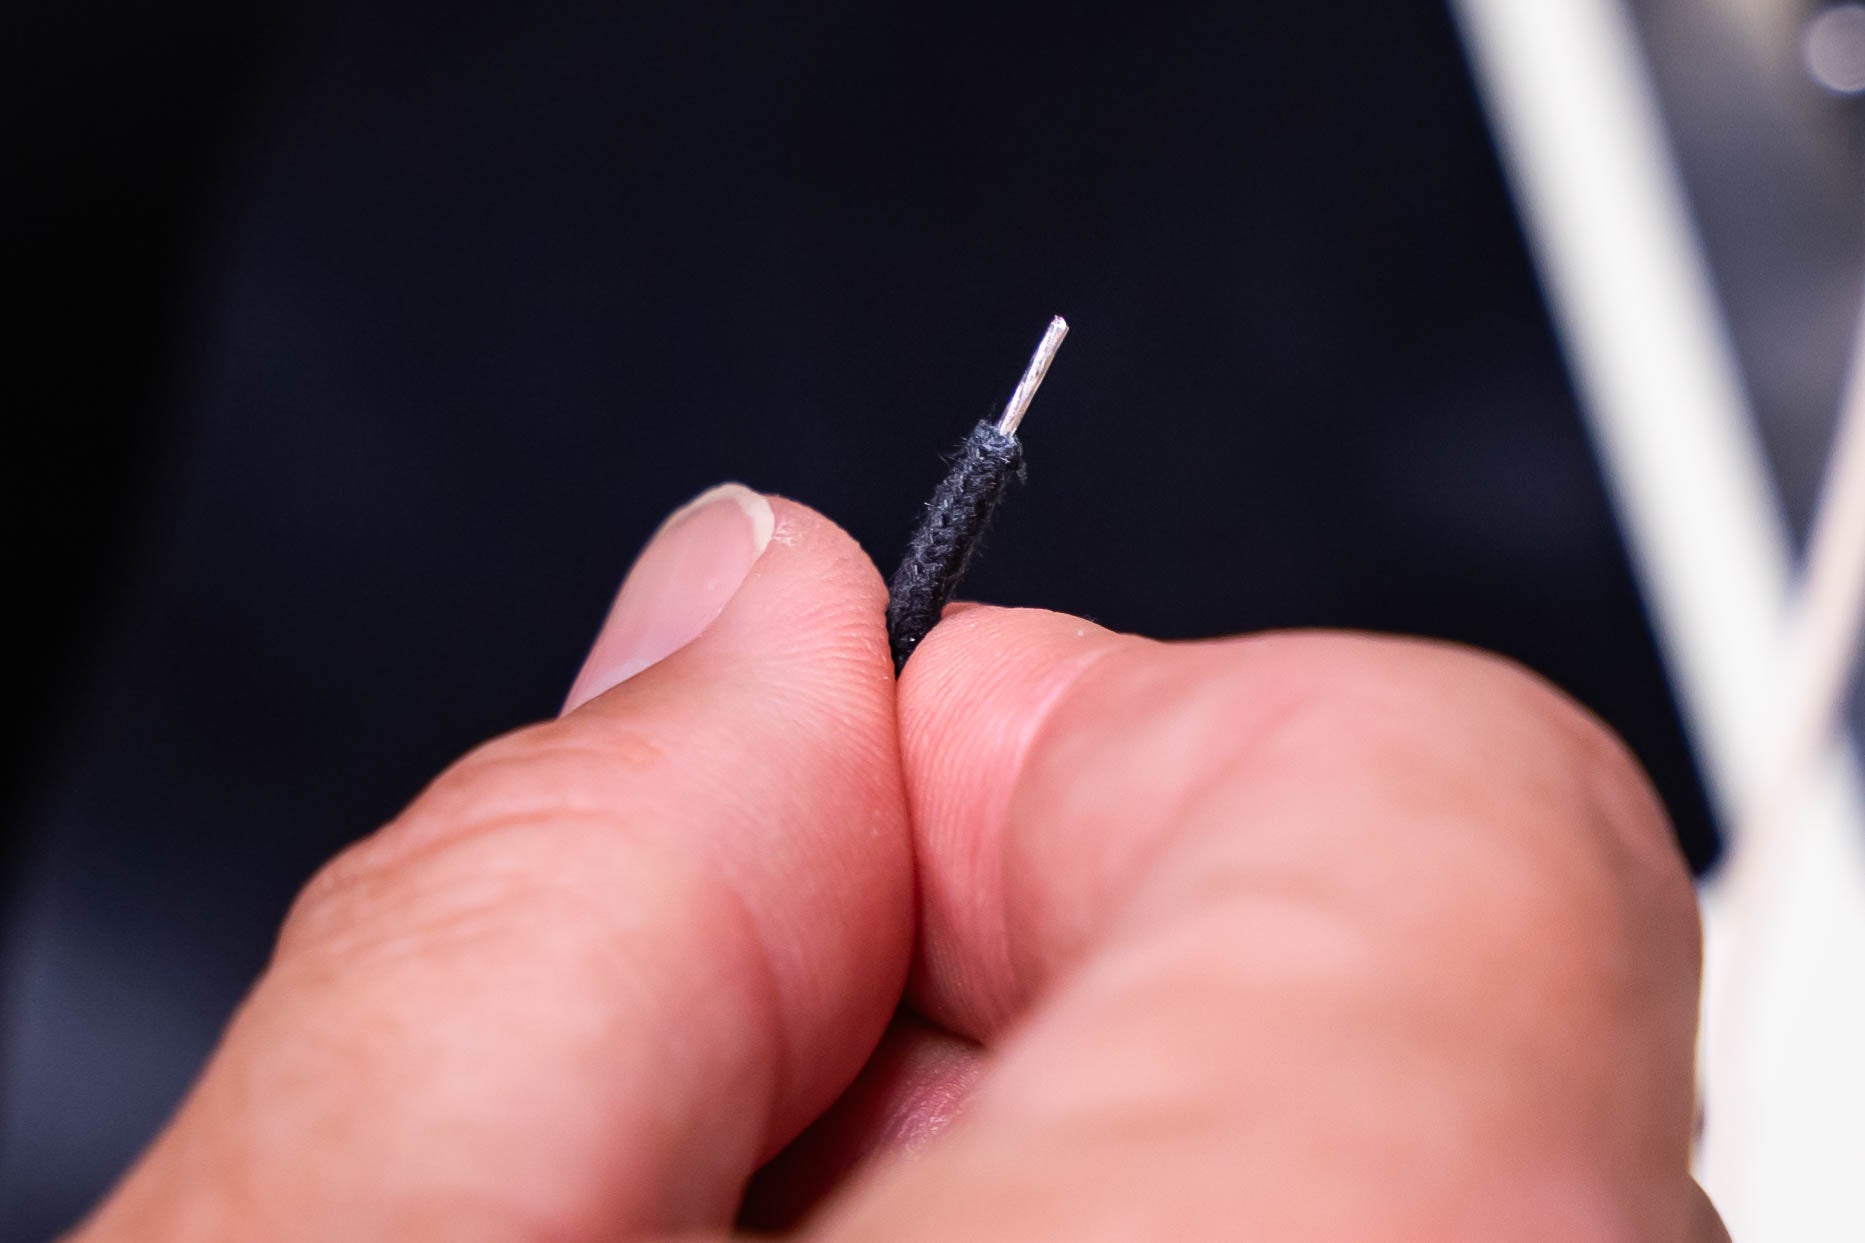
  • 4) Prepare Your Wires

    • Strip pickup and ground wire insulation leaving 6mm (1/4”) of bare wire.
    • Be Precise
    • Twist loose strands of wire between your fingers to create a firm tip.
  • 5) Attach Your Ground Wires

    • Send ground wires to screw down ground connector. Lightly screw down on top of wires.
    • The bridge and all shielding must be grounded to the harness to avoid excess hum.

  •  

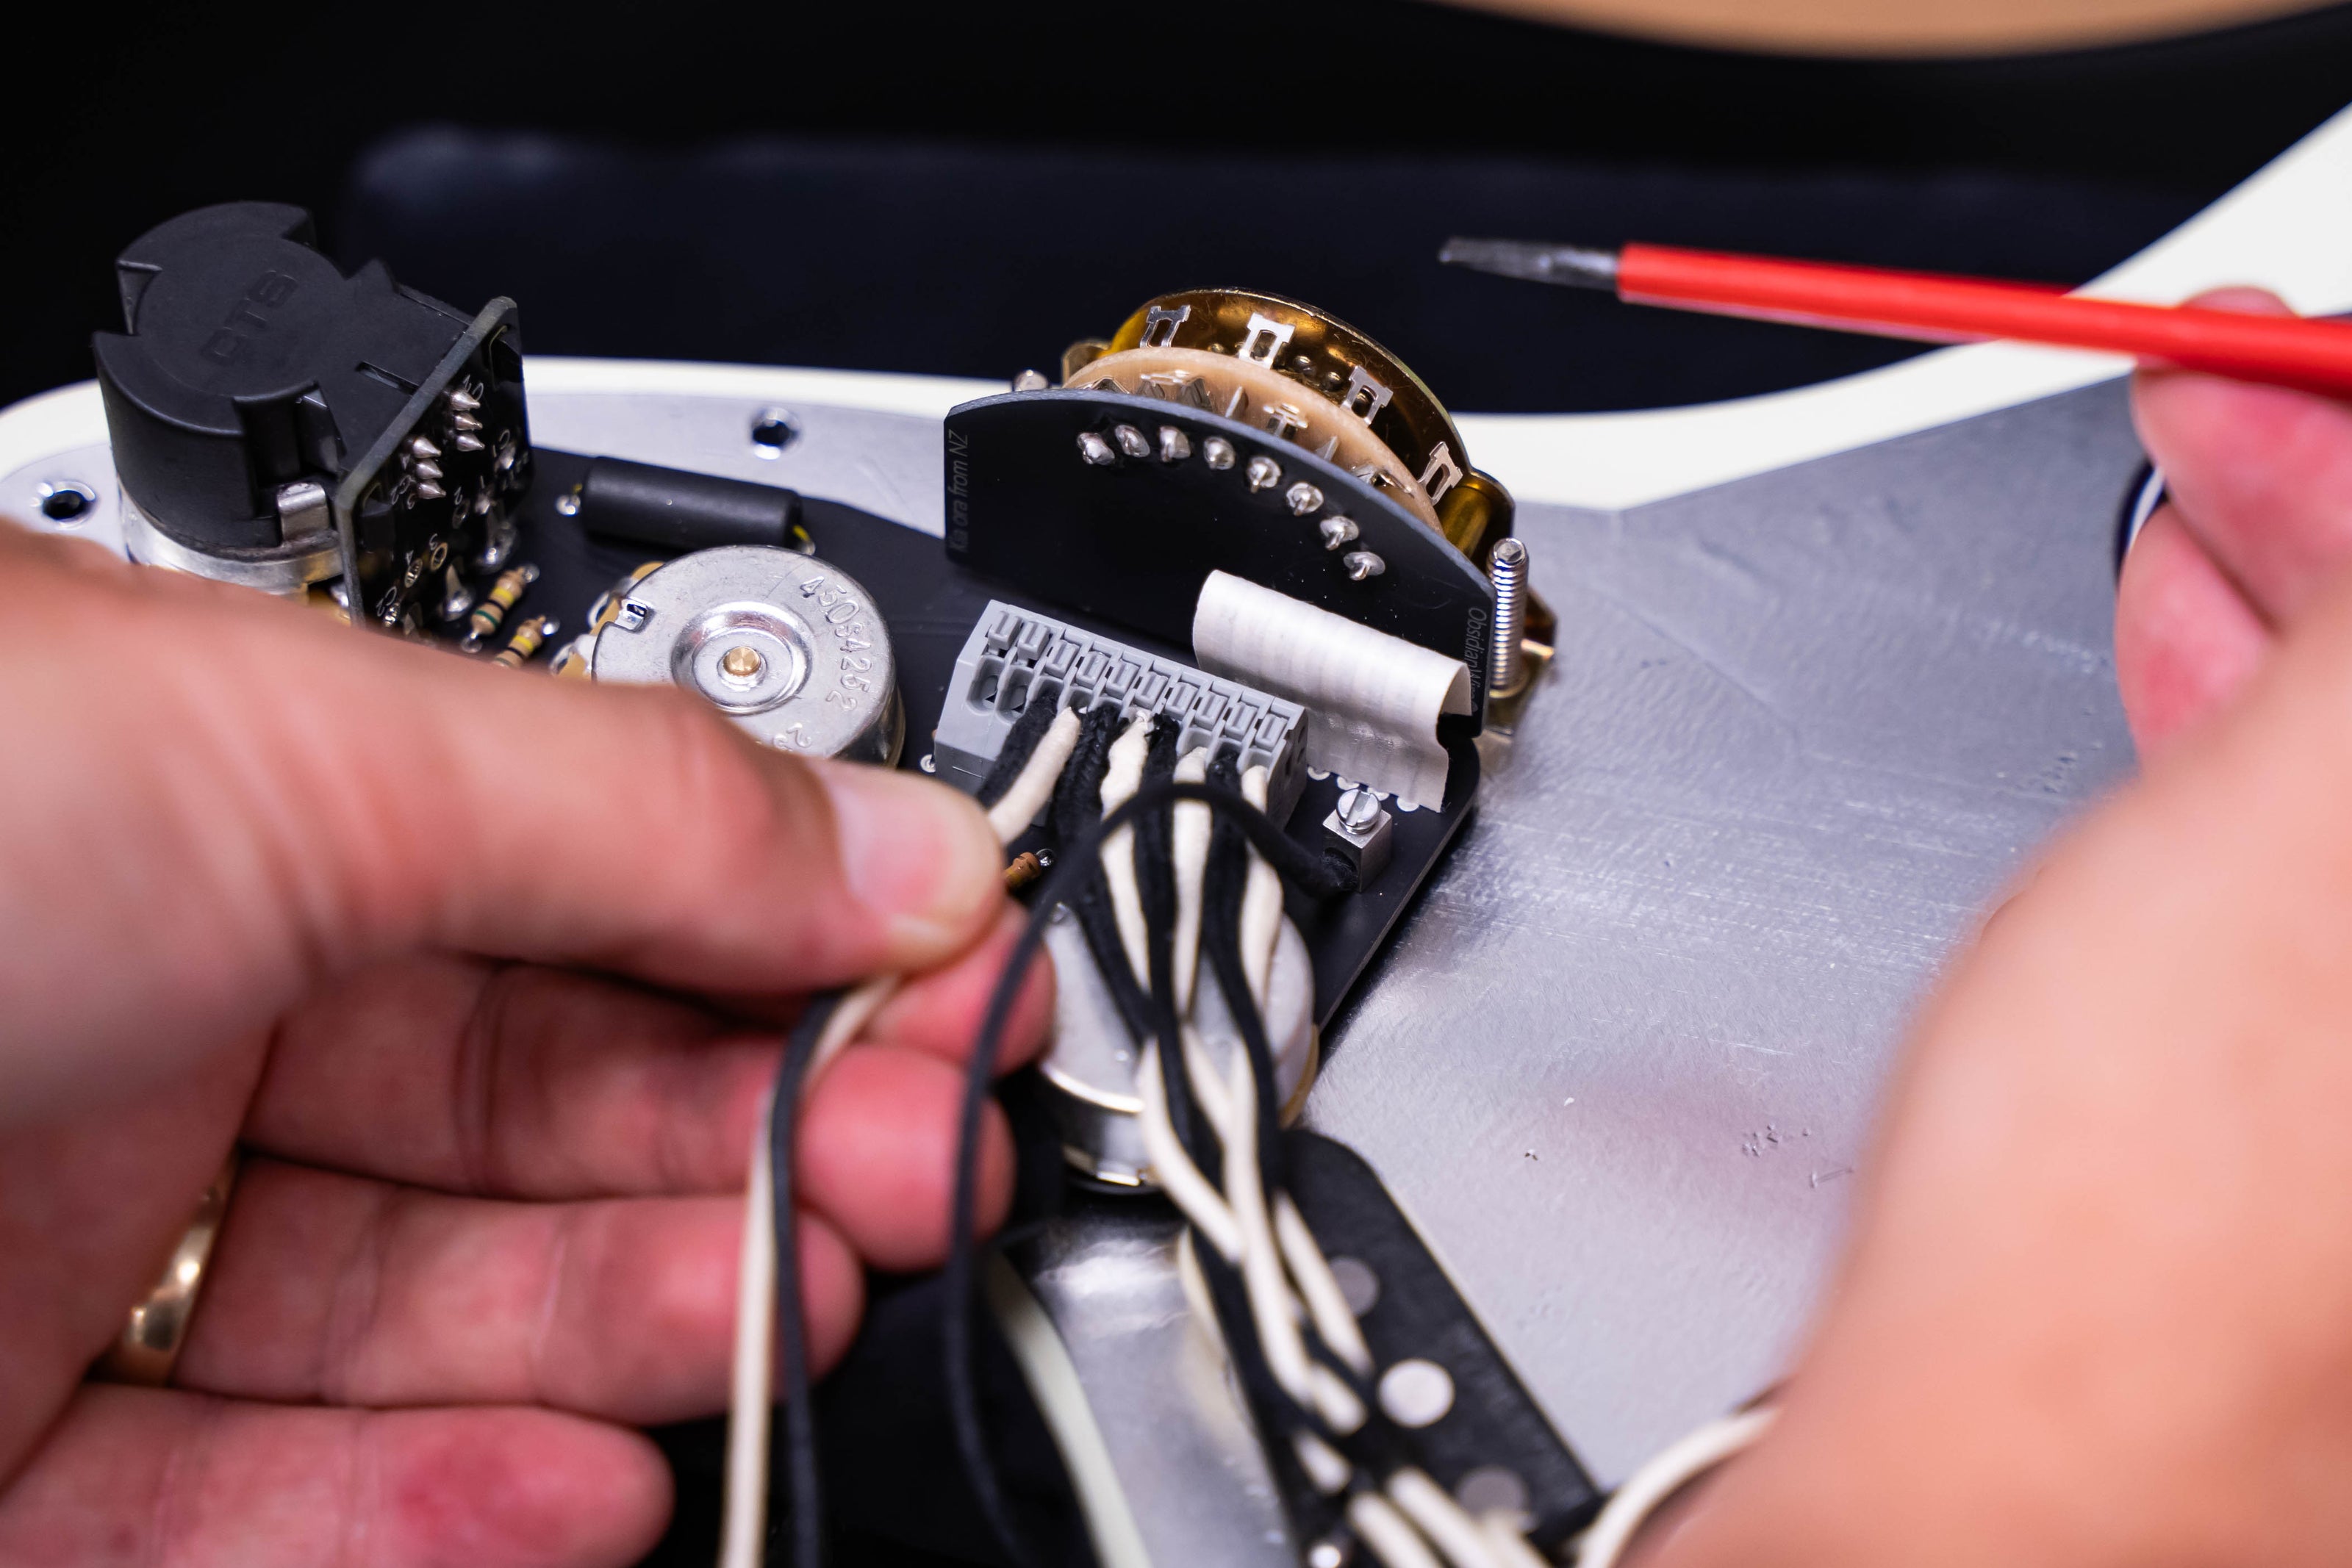
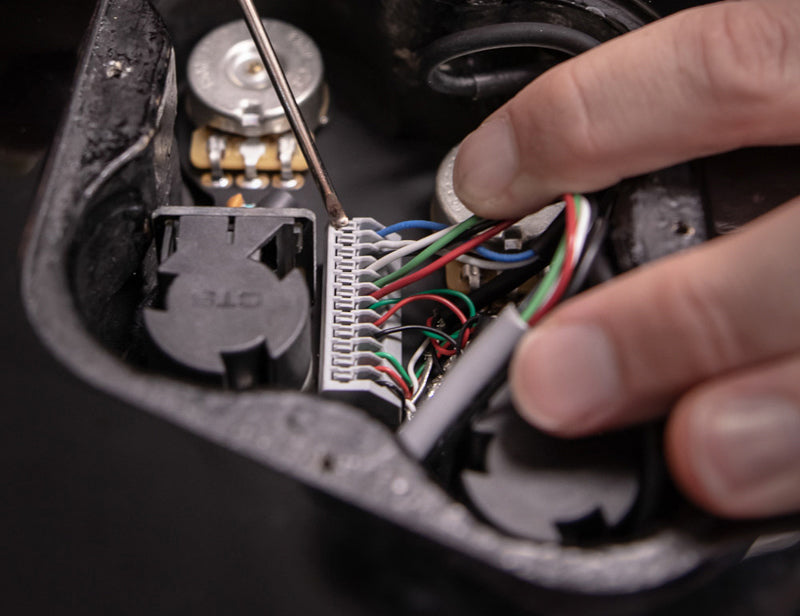
    6) Press & Hold Connector Button

    • Use a fine screw driver to press and hold the connector button above the wire slot. This opens the slot.

    DO NOT press too hard as this may damage your connector.

    • For a full guide on using the solder-less connectors, check below
    Connector Guide
  • 7) Insert Output Jack Wire & Release Button

    • Insert the wire to the correct slot at a 45° angle.
    • Release the button to clamp the wire - the wire should now hold firmly.
    • Test the wire by giving it a gentle pull before moving on to the next wire.

What should my pickup height be?

Pickup height is a personal choice; you might want a slightly taller pickup height for more treble, or the more mellow sound of a lower height.

Set too high or low, however, you can encounter buzz, dampened sustain, or thin sounds.

Our guide below will help you set your pickup height so it is just right for you.

How to set your pickup height

Measure, set, play, repeat

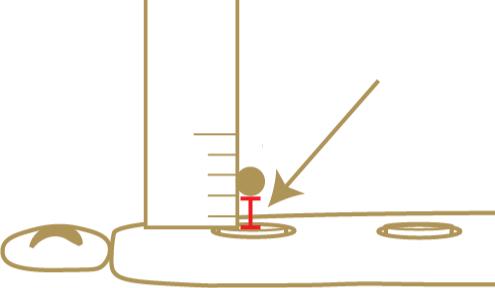
Using an accurate ruler, depress the low E string at the last fret, closest to your pickups. Measure from the bottom of the string to the top of the pickup pole below it, as shown here.

Repeat this for the high e string.

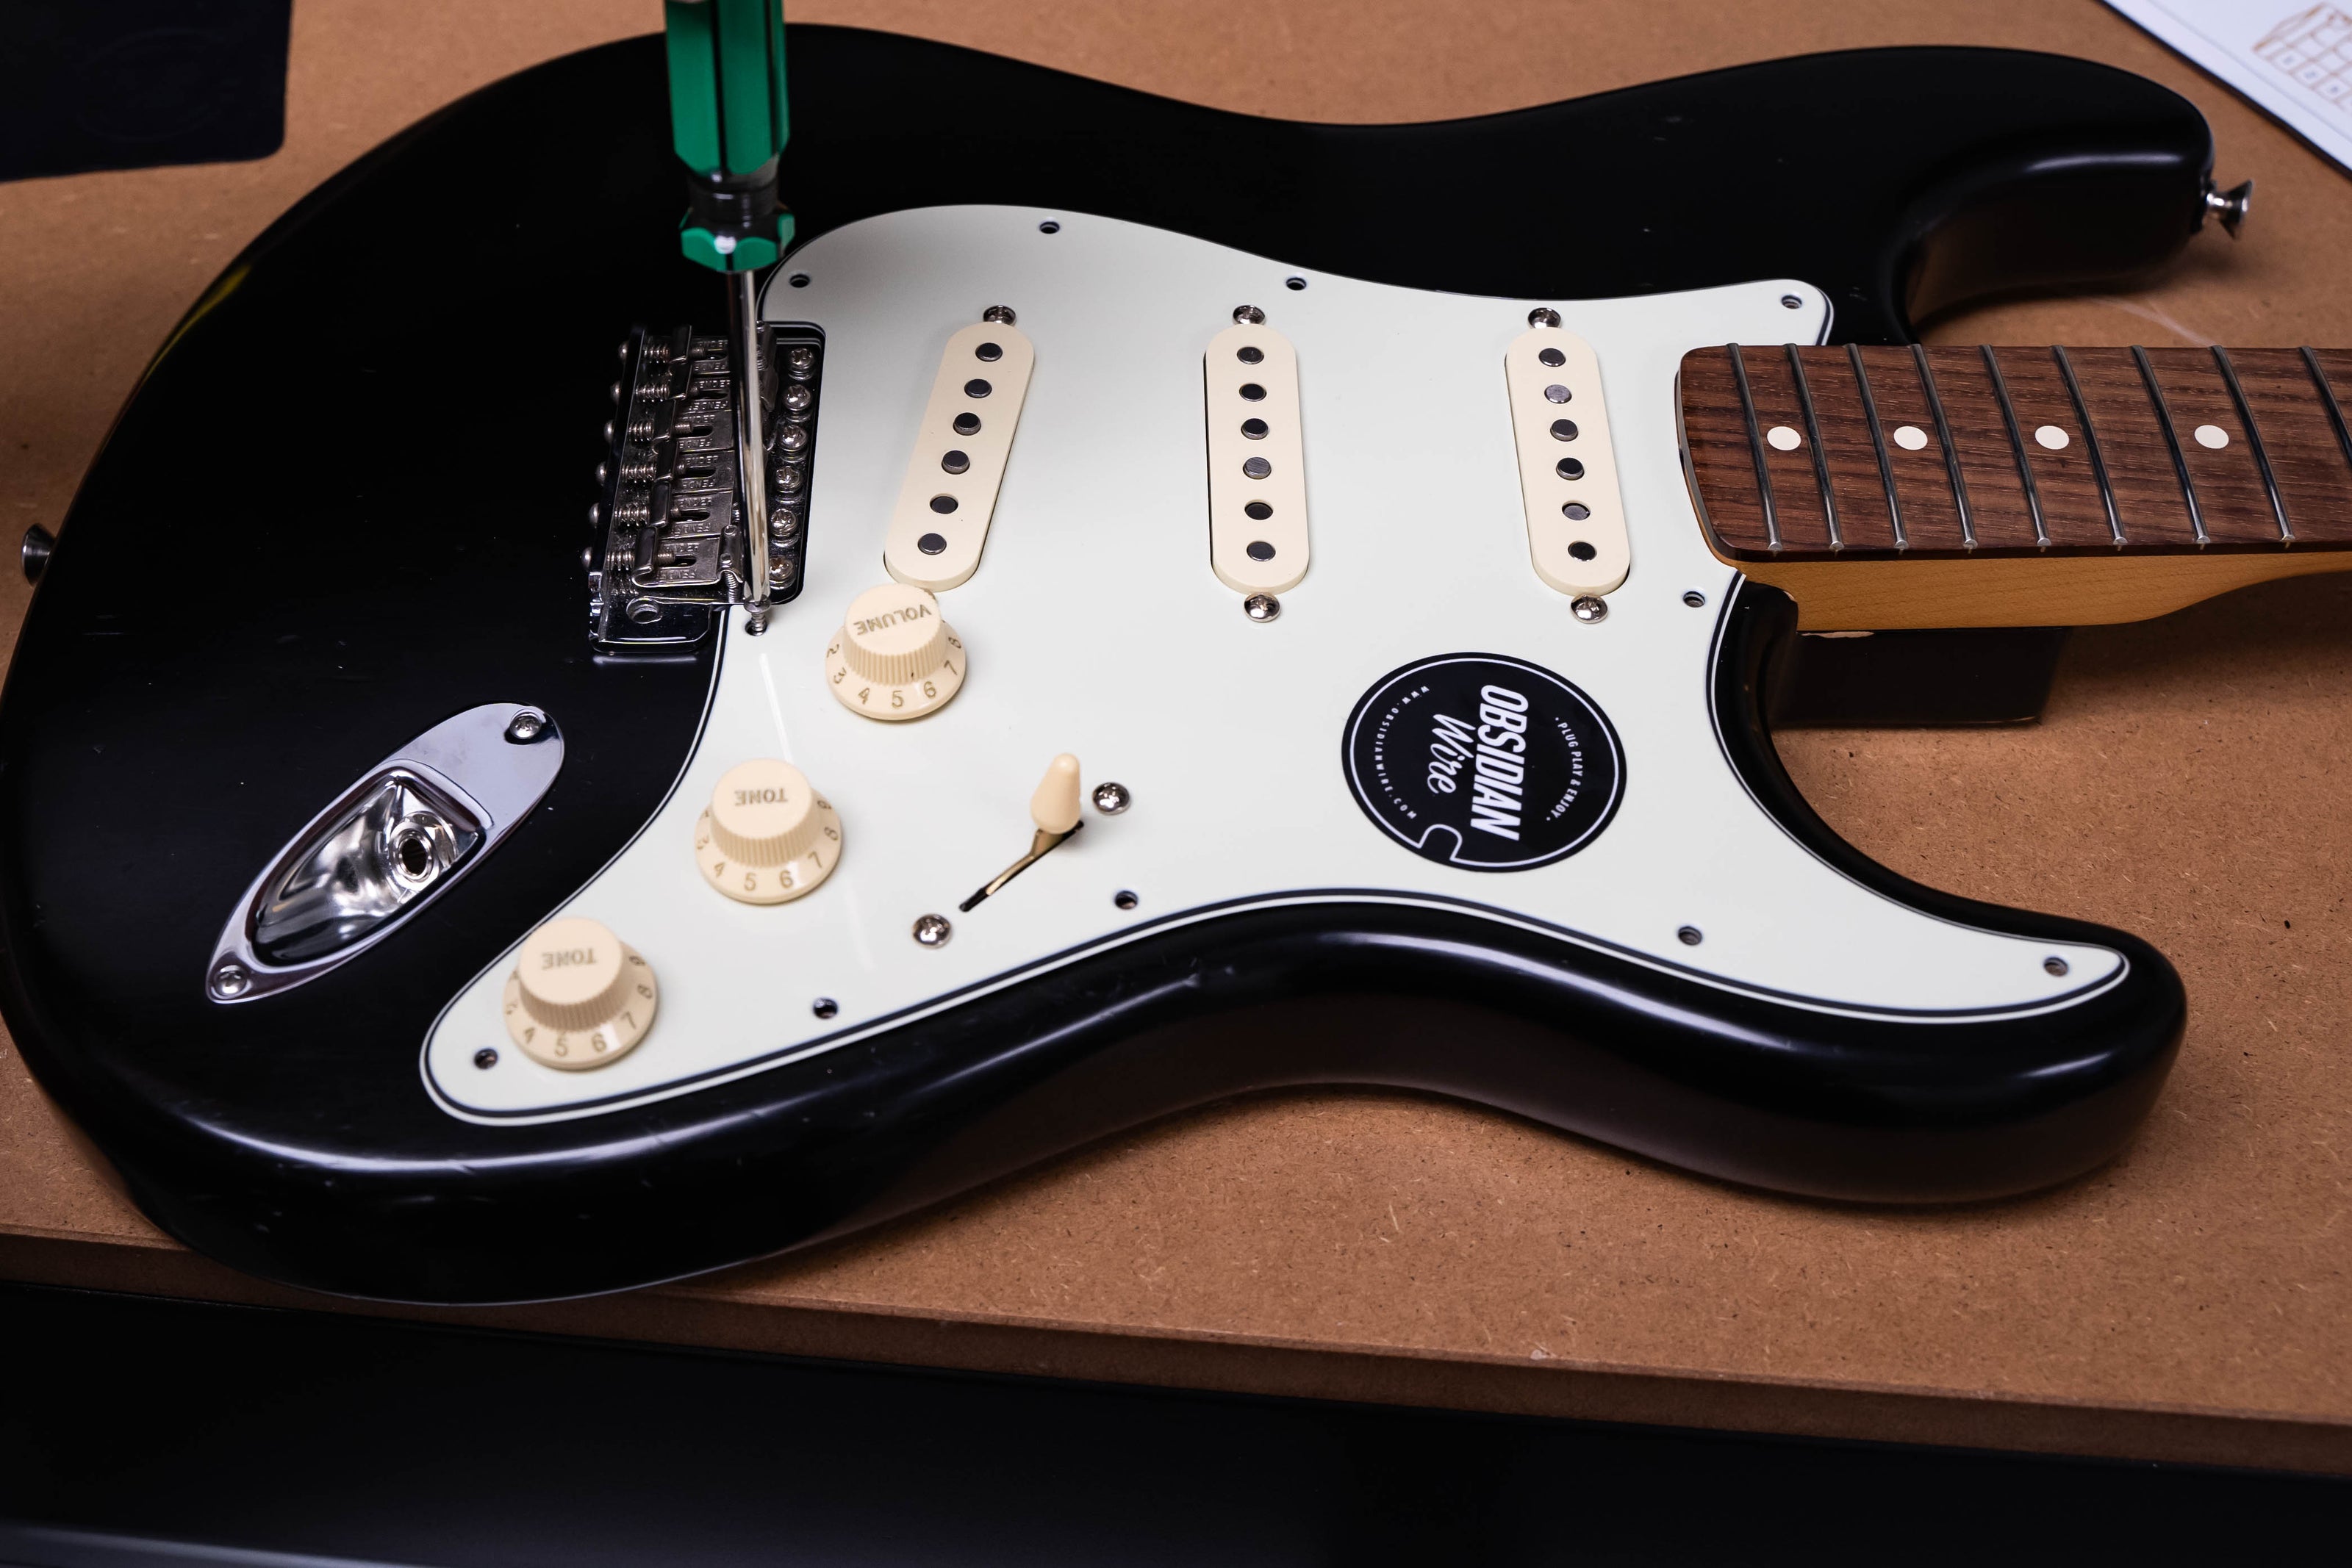
Using a screwdriver, turn the screws either side of the
pickup slightly on each side. To raise the pickup, turn the screws clockwise. To lower it, go counterclockwise. 

These measurement guides are also from the bottom of the string to the top of the magnet.

Some helpful tips:

  • Be careful not to drop the pickups too far as the they could fall into the body of the guitar. Try a little at a time: re-measure the height, play, before adjusting again if you need to.

  • As this process involves a bit of back and forth, try adding a piece of paper tape to the side of the pickup cover to mark heights on as you go. You’ll want a thin pencil to make the markings with, as these are often very small changes.
    This will help you to easily get back to a previous height if you preferred it.

Suggested Starting Heights

  • Low e

  • High e

  • Single Coil - Bridge

    1.2mm or 1/16”

  • Single Coil - Bridge

    0.8mm or 1/32”

  • Single Coil - Middle & Neck

    1.2mm or 1/16”

  • Single Coil - Middle & Neck

    1.6mm or 1/16”

How will I know if my pickups are set too high or low?

  • Too High

    If your pickups are set too high, they can interfere with the normal vibration of the strings.

    You might hear this as:

    • A warbling sound at high frets
    • Out of tune sound (also check: bridge saddle and nuts)
    • Dampened sustain
    • Buzz
  • Too Low

    If your pickups are set too low, the magnets will not get the full range of sound from the strings.

    You might hear this as:

    • Quiet/thin sounds
    • Weaker output (note that this can sound very similar to low sustain)

Install Videos:

The below demo videos are model specific and the wiring layout may differ. Always use the correct wiring diagram for your wiring model.

More Help?